Cosplay Electronics 101: Simple Switched Circuits
Overview
Simple switched circuits are great for adding a few LEDs to your costumes. I use them for areas with fewer than 5 LEDs in a chain and who aren’t arduino controlled. Configurations like this work well for arms and legs, and places where you can’t run wires to a main harness.
Materials & Tools
- A Soldering Iron & Solder
- A pair of Wire Strippers and Scissors/Dykes
- Your LEDs
- 2-Pin JST wire (or you can use regular wire, but this is easier)
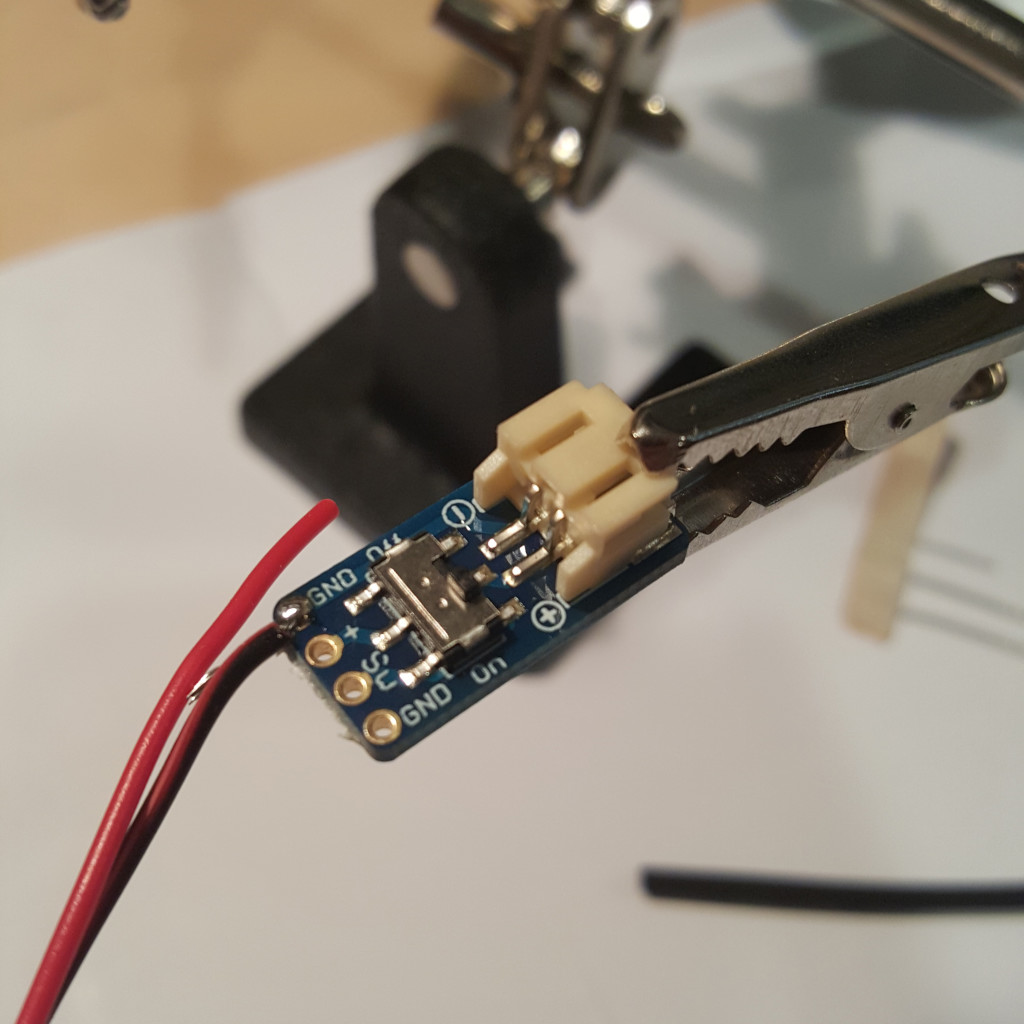
- A Switched 2-Pin JST Breakout Board
- A resistor of the correct size for your circuit & LED (I used 27 ±5% Ω)
- (Optional) Heatshrink tubing & Electrical Tape
- (Optional) Helping Hands
The Soldering Process
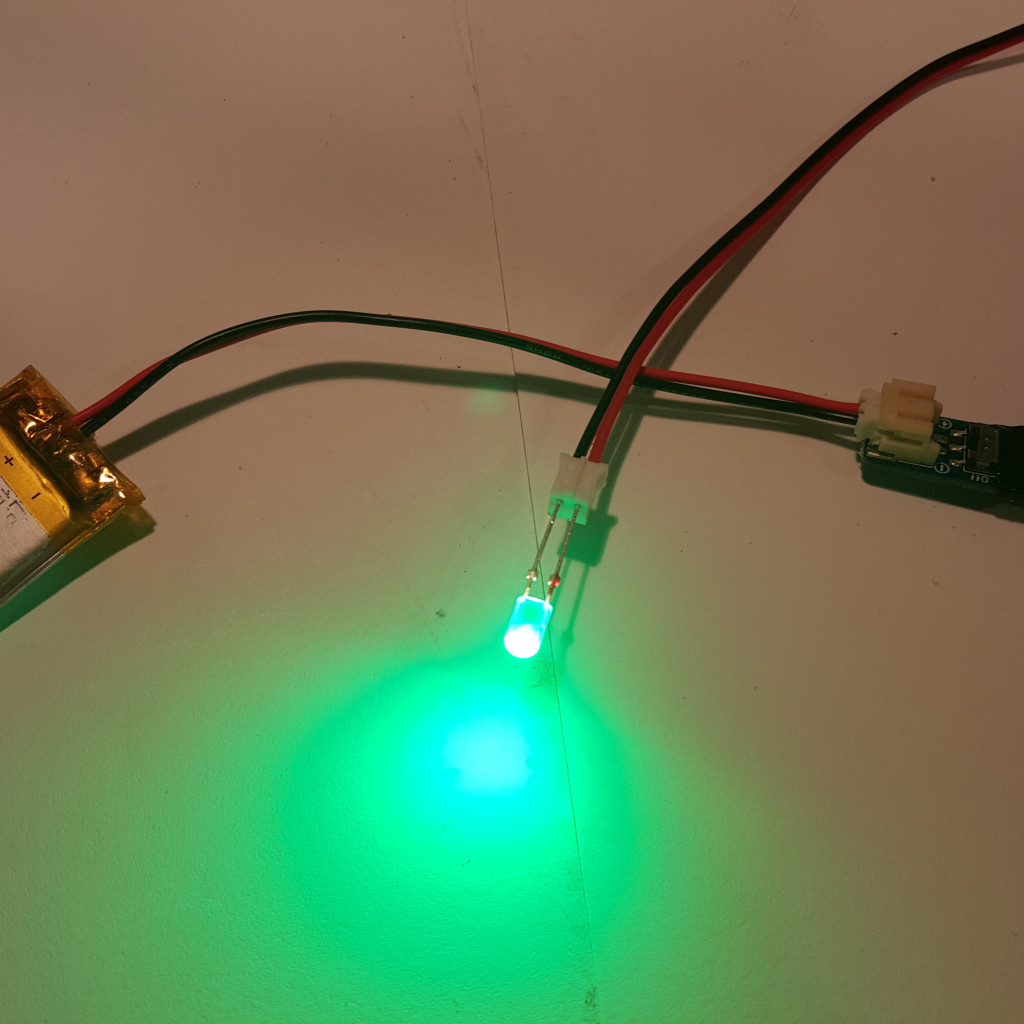
Check for shorts, and then you can plug in your battery (if you’re using the Adafruit switch I am, they need to have a JST connector attached, you can find some awesome options here!) and light your LED up! This method means that you can switch out your LED/gem if you want and reuse the switches for another costume or project.
This method also works with multiple LEDs, you just need to change the resistor size accordingly.


Leave a Comment