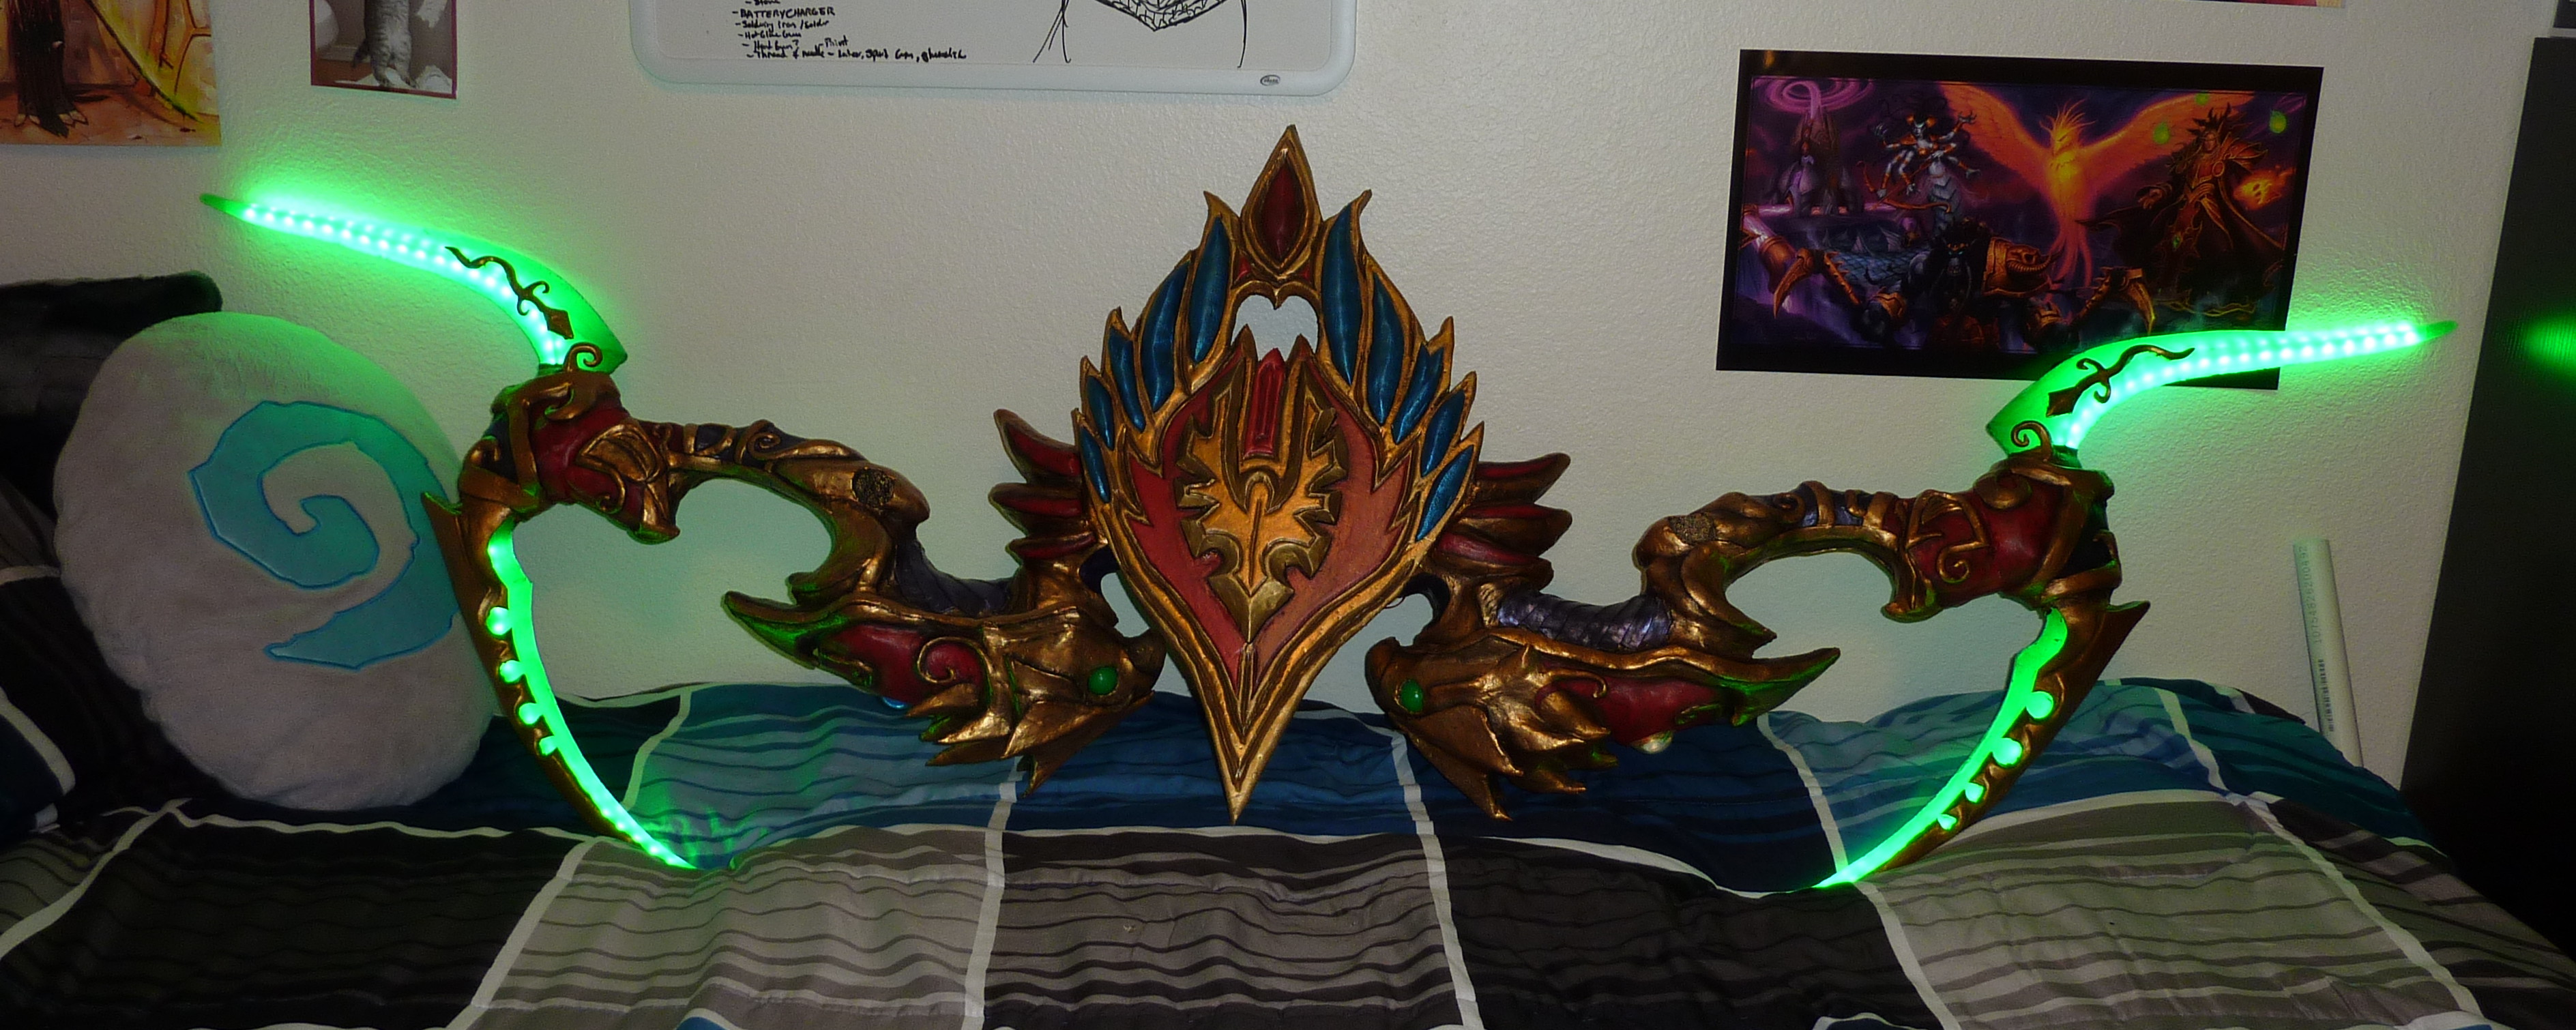
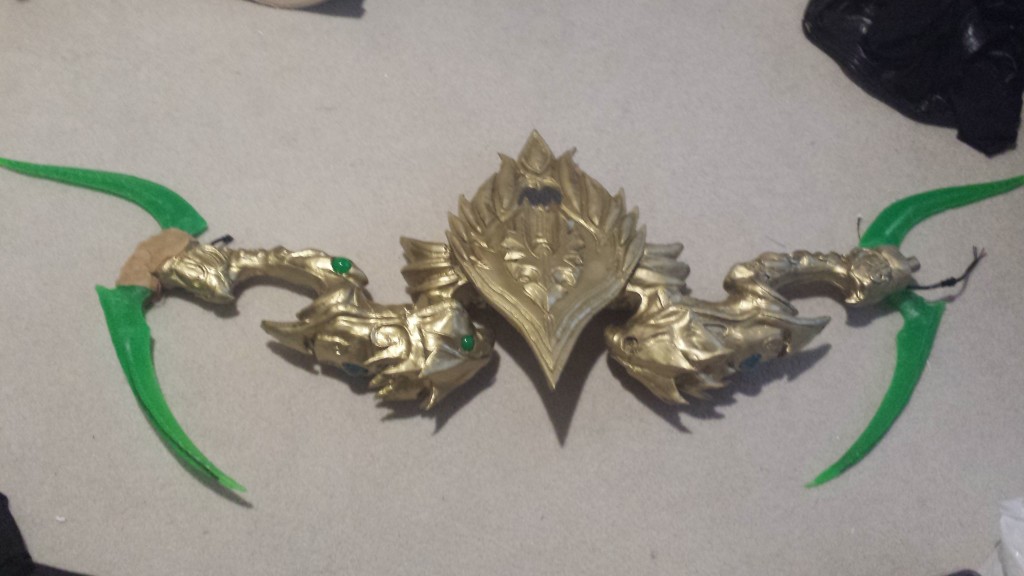
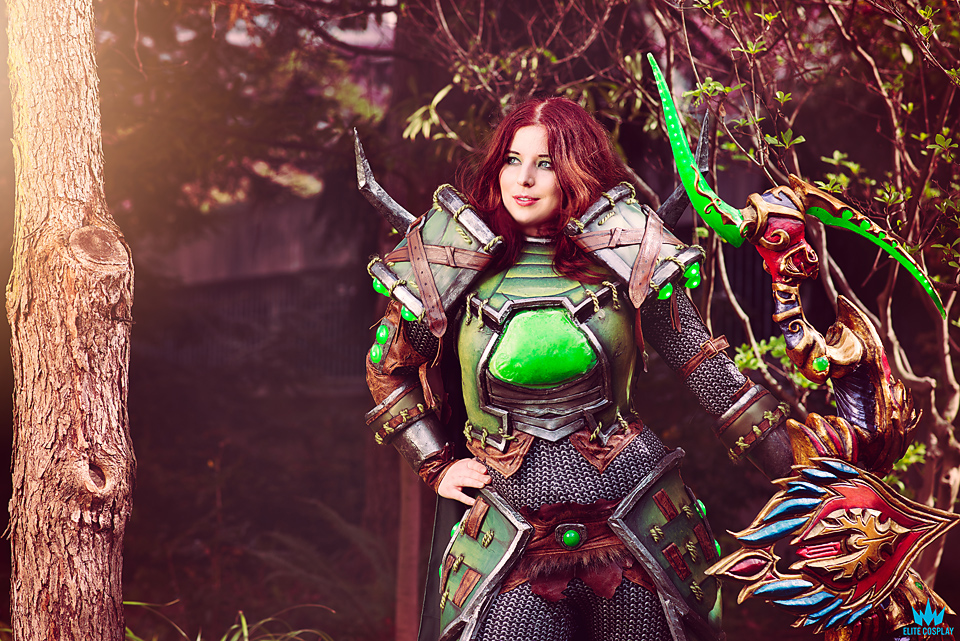
The Golden Bow of Quel’thelas is my favorite weapon in Word of Warcraft. It was actually one of the reasons that I chose hunter as my first class, partially because of this fan art done by Yao Ren Wo. The armor in the picture, the Sunwell Hunter Set became my 2nd hunter cosplay over the summer of 2015.


After months and months of beating my face against the Eredar Twins in the Sunwell Raid, it finally dropped, and I was so happy that I could finally use it! But I couldn’t stop there, I had to make it in real life– all 6+ feet, four giant green spikes, and crazy blood elf crest.
Here begins our adventure!
For the base of the bow I used 1” PVC pipe, a few connector joints, some really low quality EVA foam, and two cans of expanding foam. You can see my steps in the following pictures.

I printed out and cut up a scale image of the bow and taped it to cardboard to act as a guide.

I shaped my PVC to the curve of the bow– without the crazy bird heads and the spikes, it has the shape of a recurve bow.

*Not Pictured* I cut out EVA foam in the shape of the outside of the bow, cut a channel for the pipe, and hot glued it on. Then I covered that with 2 cans of expanding foam, one for each side.

After that, just endless carving with an exacto knife, staring at the Wowhead 3D model, and being completely covered in scratchy foam bits that stuck to everything.

Here you get an idea of how much material I removed to get to the final shape when you compare one fully carved side to the uncarved one.

This is what the bow looks like with cardboard spike templates that I made so I could estimate the final size and make adjustments as needed.

I carved the crest out of really terrible EVA foam (it had a gross rubber vinyl backing, ugh) using a dremel tool. Also note: Please use a mask of some sort. breathing EVA dust could ruin your lungs (and don’t do it over your computer, yikes).

The crest compared to the un/carved foam bow arms. At this point it’s definitely starting to feel like the Golden Bow!

Both arms carved and with the shield/crest magneted on!
At this point I don’t know if I realized how damn big this bow would be (or thought about it’s weight)

I thought, hey everyone covers their props in worbla, what could possibly go wrong…?

It worked pretty well on my shield!

Worbla can normally manage some weird complex shapes, but the bird head-ed bow arms were simply too much. The worbla ripped, was lumpy, and didn’t cover the expanding foam very well.

Ripped off the worbla, and went at the bow with a weird and ever evolving combination of spackle, wood filler, paper clay, Apoxie Sculpt, and FreeForm Air. (looking back, I would have just used the FreeForm Air, but it was new to me during that project).

Added worbla bird head spikes & trim, clay swirls, and resin eyes. I think I also coated it in wood glue at this point.

The whole bow layed out with faux spikes.
(Somewhere in here I sanded for what felt like a week, and still could never get it super smooth.)
I made a video of my moldmaking process of my Golden Bow of Quel’thelas arms, or you can look at the progress photos below.

These are my original bow spike sculpts, made with Paperclay and Apoxie Sculpt after much sanding.

Here I have made a mold box, and registration keys for the first half of a 2-part mold for my sculpts using foam board and Monster clay (oil-based).

The first side of the mold is finished and de-clayed, and getting ready for the second half of the silicone. (Use lots of mold release!!!)

The finished molds prepped and rubber banded together for their first resin pour.

Here I have poured my resin (Smooth-cast 326) mixed with neon green UV powder into the mold.

After the resin sets, the molds are opened to see their first resin pull (which looked pretty good!)

This is what one of the resin bow spikes looks like lit up!

Both bow arms running a strand test.

The whole bow layed out with the cast resin spikes.

Here is one of the endcaps that the spikes are attached to after adding some of the first details.

Everything wired together for the first time.
![image[6]](https://valkyriestudios.net/wp-content/uploads/2015/07/image6-e1440194580994-1024x768.jpeg)
A close up of the trinket and wiring in the cutout of the back of the bow.
Bow Code for Adafruit 5v Pro Trinket
#include <Adafruit_NeoPixel.h>

const int buttonPin = 19;     // the number of the pushbutton pin
const int ledPin =  13;      // the number of the LED pin
const int strandPin = 6;
const int strandPin2 = 5;
Adafruit_NeoPixel strip  = Adafruit_NeoPixel(60, strandPin, NEO_GRB + NEO_KHZ800);
Adafruit_NeoPixel strip2 = Adafruit_NeoPixel(60, strandPin2, NEO_GRB + NEO_KHZ800);

int mode = 1;
int max_mode = 7;
int lastButton = 1;
long lastMillis = 0;
int brightness = 128;
int march = 0;
uint32_t white = strip.Color(255, 255, 255);
uint32_t red = strip.Color(255, 0, 0);
uint32_t green = strip.Color(0, 255, 0);
uint32_t cyan = strip.Color(0, 255, 255);
uint32_t blue = strip.Color(0, 0, 255);
uint32_t black = strip.Color(0, 0, 0);
uint32_t orange = strip.Color(255, 127, 0);

void setup() {
  pinMode(ledPin, OUTPUT);
  pinMode(buttonPin, INPUT_PULLUP);

  strip.begin();
  strip2.begin();
  all(green);
  strip.show();
  strip2.show();
}

void loop() {
  // read the state of the pushbutton value:
  int button = digitalRead(buttonPin);

  if ((button != lastButton) && (millis() - lastMillis > 50)) {
    if (button) {
      newMode();
    }
    lastMillis = millis();
    lastButton = button;
  }

  switch (mode) {
  default:
    brightness = 256;
    all(green);
    break;
  case 2:
    brightness = 32;
    all(green);
    break;
  case 3:
    ++march;
    brightness = 256;
    rainbow();
    break;
  case 4:
    ++march;
    brightness = 3;
    rainbow();
    break;
  case 5:
    brightness = 64;
    sweepForward(green);
    march = (march + 1) % 40;
    brightness = 256;
    sweepForward(cyan);
    break;
  case 6:
    brightness = 64;
    sweepDown(green);
    march = (march + 1) % 80;
    brightness = 256;
    sweepDown(cyan);
    break;
  case 7:
    brightness = 0;
    all(black);
    break;
  }

  refresh();
  delay(15);
}

void sweepForward(uint32_t color) {
  if (march < 20) {
    setPixel(19-march, color);
    setPixel(60+19-march, color);
  }
  setPixel(20+march, color);
  setPixel(60+20+march, color);
}

void sweepDown(uint32_t color) {
  if (march < 20) {
    setPixel(19-march, color);
    setPixel(20+march, color);
  }
  else if (march < 40) {
    setPixel(20+march, color);
  }
  else if (march < 60) {
    setPixel(119-(march-40), color);
  }
  else {
    setPixel(march, color);
    setPixel(99-(march-60), color);
  }
}

void rainbow() {
  for (int i = 0; i < 40; ++i) {
    int pos = (i*(256/40) + march*2) & 0xFF;
//  int blue = 128 + ((pos < 128) ? pos : (255 - pos));
    uint32_t color = Wheel(pos);

    if (i < 20) {
      setPixel(19-i, color);
      setPixel(79-i, color);
    }
    setPixel(20+i, color);
    setPixel(80+i, color);
  }
}

void newMode() {
  ++mode;
  if (mode > max_mode) {
    mode = 1;
  }
  for (int i = 1; i <= mode; ++i) {
    flash();
  }
  reset();
}

void reset() {
  march = 0;
  brightness = 64;
  all(green);
  refresh();
}

void flash() {
  brightness = 64;
  all(green);
  refresh();
  digitalWrite(ledPin, 1);
  delay(100);
  all(black);
  refresh();
  digitalWrite(ledPin, 0);
  delay(100);
}

void all(uint32_t color) {
  for (uint16_t i = 0; i < 120; ++i) {
    setPixel(i, color);
  }
}

void refresh() {
    strip.show();
    strip2.show();
}

void setPixel(int i, uint32_t color) {
    int red = (color >> 16) & 0xFF;
    int green = (color >> 8) & 0xFF;
    int blue = color & 0xFF;

    red = (red * brightness) >> 8;
    green = (green * brightness) >> 8;
    blue = (blue * brightness) >> 8;

    color = strip.Color(red, green, blue);

    if (i < 60)
      strip.setPixelColor(i, color);
    else
      strip2.setPixelColor(i - 60, color);
}

void rainbow(uint8_t wait) {
  uint16_t i, j;

  for(j=0; j<256; j++) {
    for(i=0; i<strip.numPixels(); i++) {
      strip.setPixelColor(i, Wheel((i+j) & 255));
    }
    strip.show();
    delay(wait);
  }
}

// Input a value 0 to 255 to get a color value.
// The colours are a transition r - g - b - back to r.
uint32_t Wheel(byte WheelPos) {
  if(WheelPos < 85) {
   return strip.Color(WheelPos * 3, 255 - WheelPos * 3, 0);
  } else if(WheelPos < 170) {
   WheelPos -= 85;
   return strip.Color(255 - WheelPos * 3, 0, WheelPos * 3);
  } else {
   WheelPos -= 170;
   return strip.Color(0, WheelPos * 3, 255 - WheelPos * 3);
  }
}

The bow after a hand applied coat of matte black gesso. After that I sprayed two coats of grey filler primer and a coat of black followed by a base coat of rattle can antique gold.

From here the bow got base colors of red and purple in some areas.

More details and color, and the beginning of weathering.

One bow arm weathered and painted.

The whole bow mostly painted.

The final bow after painting.


