To me, drawing out the costume I’m making is really helpful for my understanding of layers and shapes for the build process. I ended up changing some elements of the design again later when they didn’t look good the way they were originally drawn.


I went to the LA Fabric district with my friend Arielle/Air Bubbles Cosplay after Comikaze last year, it was super exciting, as I’d never gone before and there was a lot of choices. I ended up getting a green vinyl pleather (which ended up getting mostly scrapped by the end of the costume after I changed the design of the torso to more of an armor from a jacket), a nice faux distressed leather, which turned out really nice, and a collection of d-rings, buckles, and other embellishments.

An easy way to make patterns is to tape up old clothing or make a cling wrap and tape pattern. I had a bunch of old stuff lying around, so that’s what I ended up using. Below I patterned the tunic and chaps/pants.


I also had two yards of custom dye sub spandex in a chain mail pattern printed from fabricondemand.com to use as chain mail instead of real mail that would be really heavy and extremely time consuming to make.

For my armor I used a combination of EVA foam ( anti fatigue floormats) and Worbla. I was pretty unhappy with how things were turning out for most of the build, so a lot of things only got finalized the week before the convention- I put the whole costume on for the fist time in the parking lot at Emerald City Comic-con after working on it until midnight the night before.

My tunic/vest thing was really hard to make fit me properly, it looked ok by itself, but when I added the other layers it started to bunch up and always looked bad when I was even slightly bent over.


Here I add “metal” (EVA) trim to my shoulders and start carving the spikes that stick out from them.

For my arms I carved a trough out of the larger flanged section, so that I could wrap the green vinyl and faux leather around them. I then punched holes with a sharp pair of scissors and poked green yarn into it as the details.


I start adding the leather straps and adding more depth to the paneling on the shoulders. After that was all done I began weathering it using a combination of black, brown, and a dab of red & green acrylic paints.


This is what my vambraces look like after weathering and battle damage. I’m pretty proud of my metal paintjob, which was created with gunmetal & bright silver metallic paints from Martha Stewart using a dabbing method of paper towels and sponges.


My boots were salvaged from my first iteration of my Daenerys costume, as they were pretty comfy, and convertible. They were partially covered with the faux leather, while the toes were left uncovered and smoothed (they were suede originally, and fuzzy doesn’t take paint well) with a few coats of wood glue. Yarn detailing was glued on, as well as EVA metal boot toppers, and everything was weathered.

I did a lot of traveling back and forth between college and home for various breaks, so there was a lot of shoving the costume into a suitcase.

I used a similar method of weathering for my tassets (hip plates) — notice the dark weathering around the edges and in between the twists of all the yarn. This was tasset #3 I think, and it was to small and not quite the right shape, so it got scrapped for one with a more flanged and flattering shape.

This is what the final shape of my tassets ended up being, and it worked out pretty well for the most part– however once it was done if I wanted to sit down I was totally out of luck without taking it off entirely. :/


So it was mid March and I hated the way my tunic/vest looked. I had one week at home for spring break to finish everything for ECCC, and what did I do? Decide to redesign the whole damn torso section. (I don’t regret it now, but it was a LOT of work). I got a mannequin as an extremely generous xmas present, and I used the cling wrap and painter’s tape method to pattern out my new torso armor, which I then transferred to worbla.


Here you can see the way the shoulders look with the new armor, and also the EVA bevel trim I added to the worbla (because apparently everything ‘Blizzard’ has to have beveled trim– grrrrr). I also added a cloak of no particular design to hide the gross laceup section of the back, and because cloaks are swishy and cool. Another element I added to my vague redesign was some fur around the belt area and the ‘ruff’ of the cloak.


Priming! Really boring, and unfortunately in this case, kinda drippy. :/ Also black gesso because I liked having a dark base to then paint the green onto instead of the natural triscut color of Worbla. I tried to get a gradient with various greens, but I was down to the last of my terrible brushes, the last of my patience, and only a few days before I had to leave.


Painting tassets #4 in the style of #3 (1 & 2 never made it to painting phase), it was super tedious (mainly weathering the yarn is the tedious part though).


Somehow after much stress and in the final hours before my flight I managed to mostly finish up everything.


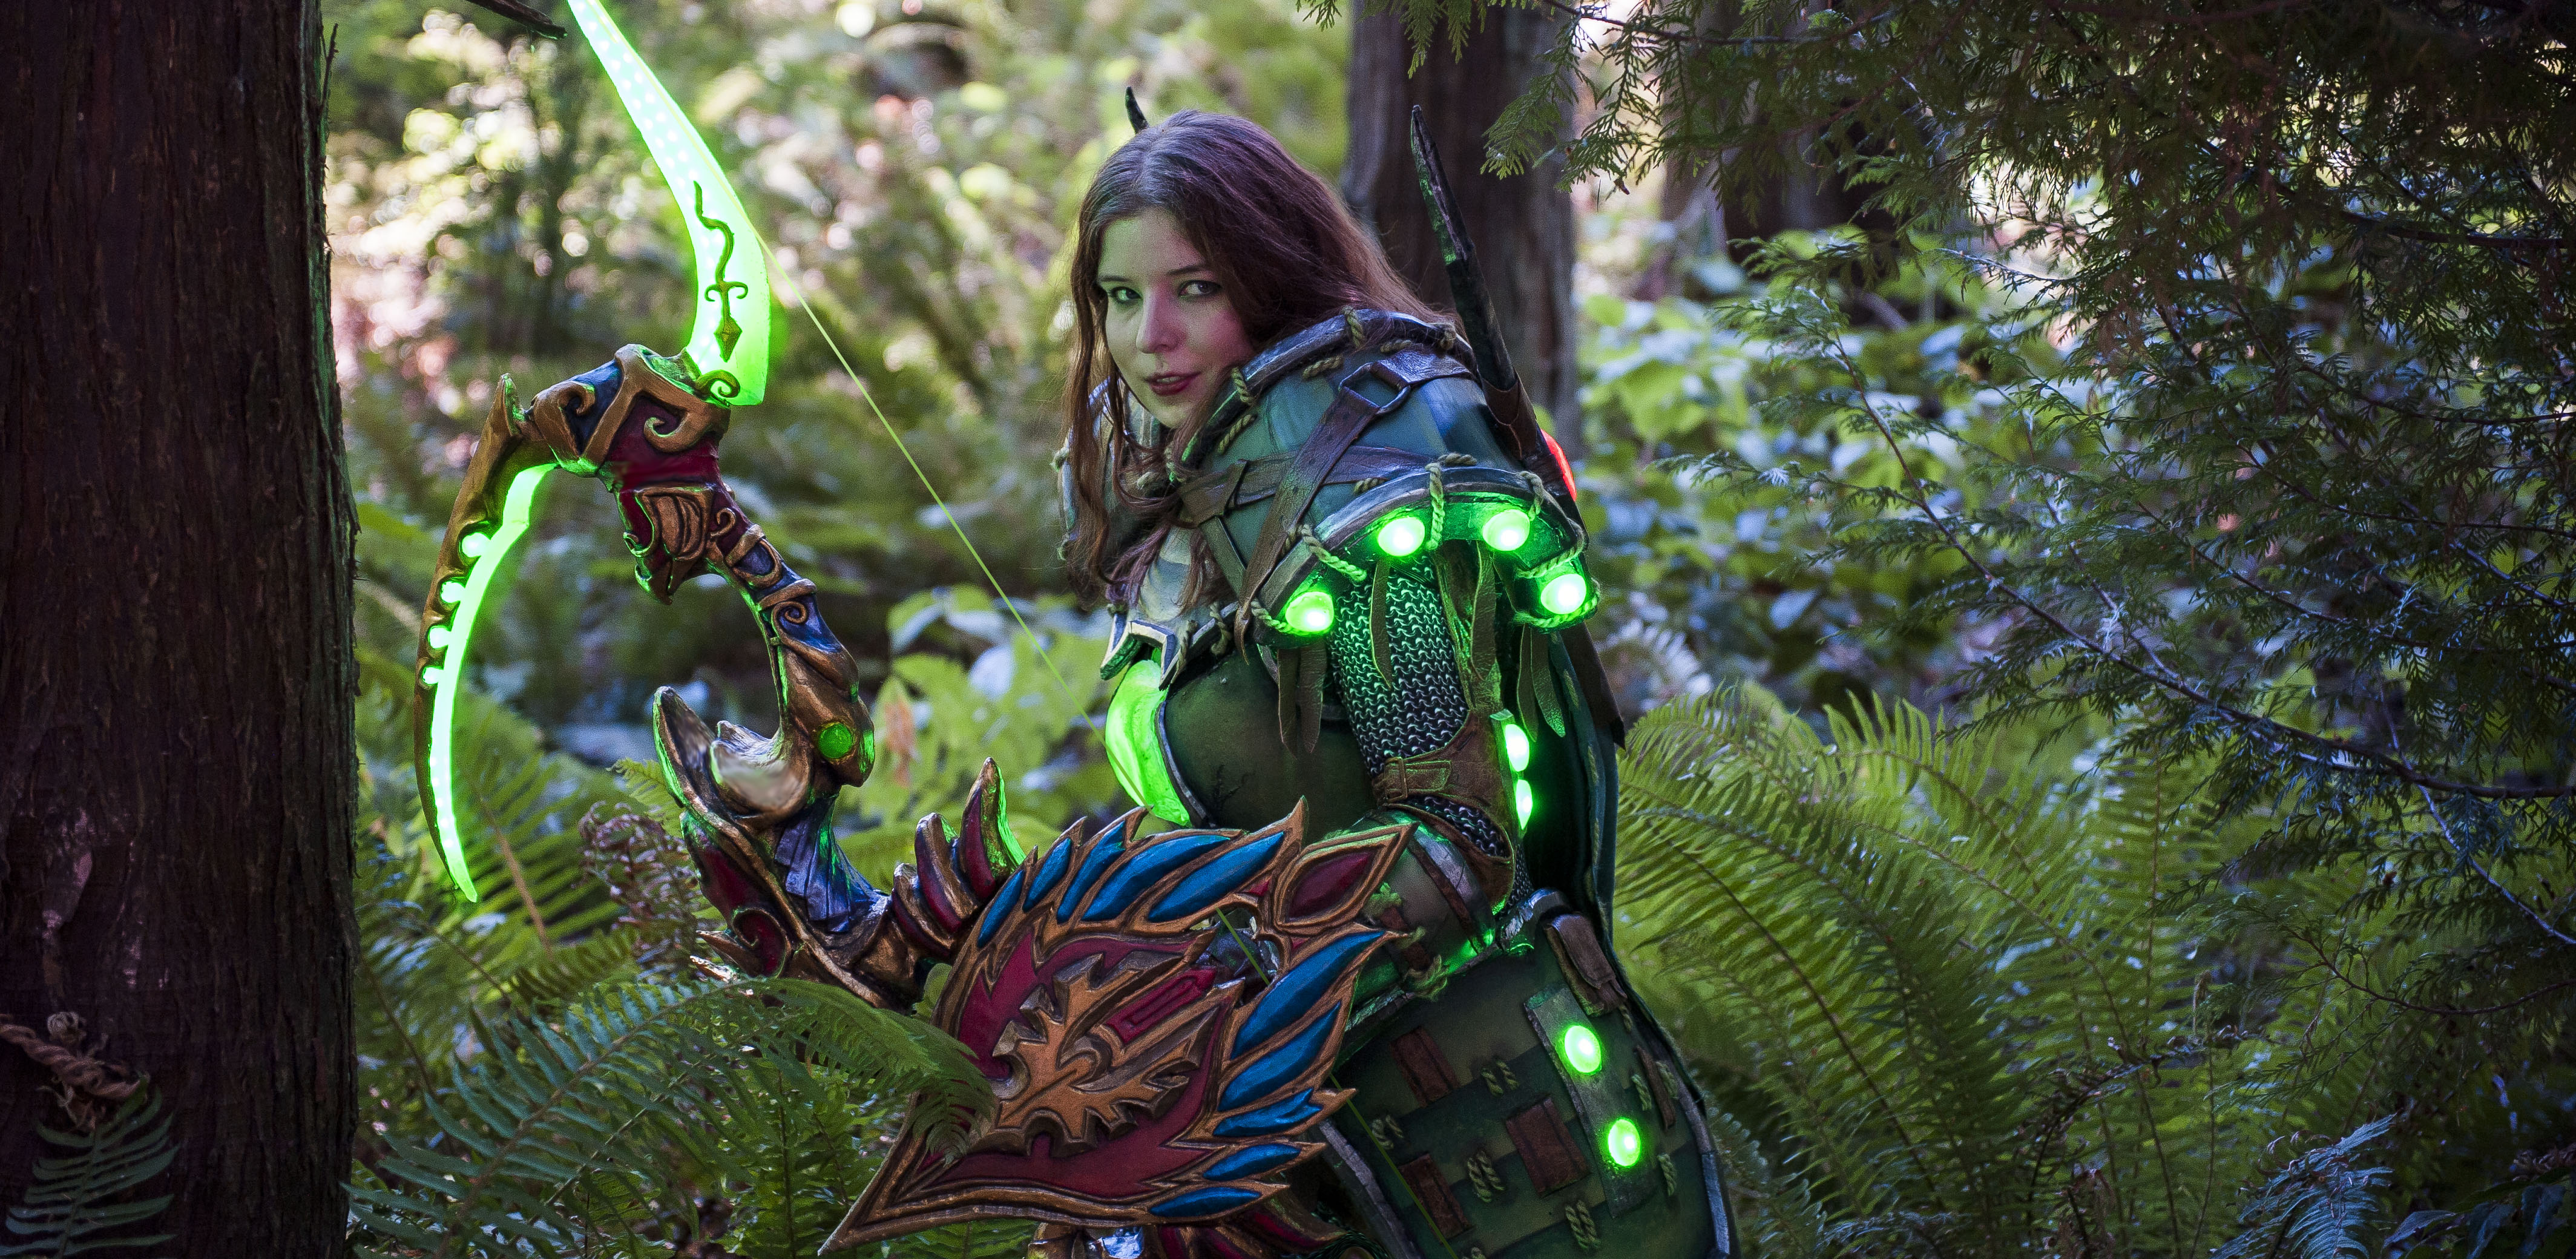
Unfortunately this bit was the part where I ran out of time/forgot to take (m)any photos, but most of the LEDs in the armor (except the red gems on the back of the shoulders, and the big gem on my chest) were just plain LEDs running on a super simple circuit with an on/off switch. The shoulders and chest were Neopixel rings from Adafruit daisy chained together and controlled by an Arduino 3v Pro Trinket to pulse or pinwheel prettily.
Most of my gems were simple half domes molded from some smooth acrylic ones I found at TAP Plastic, but my chest gem needed to be curved because, well, I have a chest. I decided to cast it flat, and while it was partially cured, bend it to the curve of my breastplate. This took… 5 tries (?) it was super fiddly and it would be hard in one area and liquid in another, but eventually I got one that worked out okish– it was a little lumpy , but oh well.


Here you can see the plainer LED gems with longer wires attached to the backs.

Check out my Golden Bow of Quel'thelas Writeup!
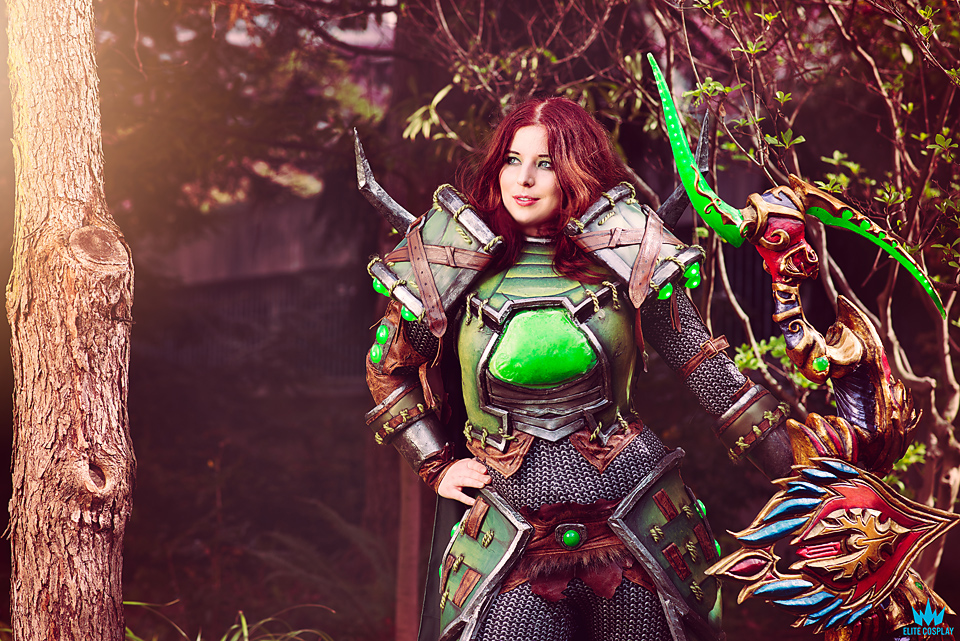
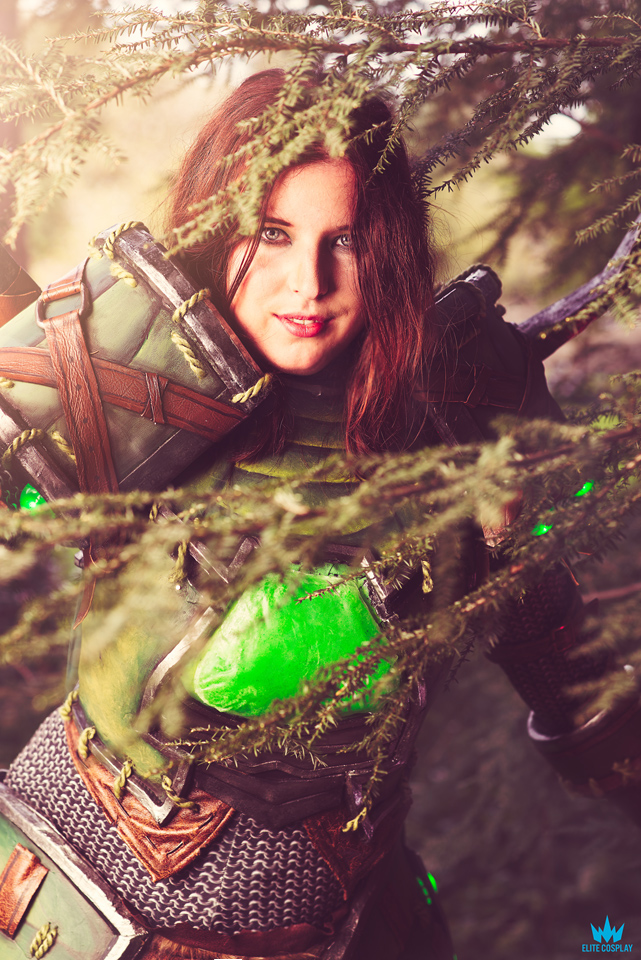
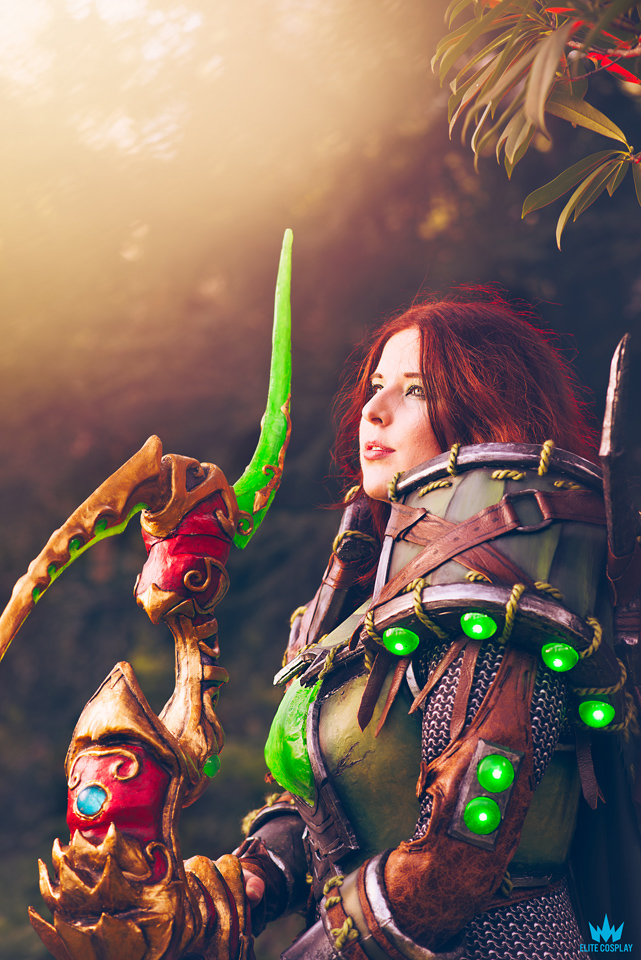
So because I was so short on time I ended up putting the whole costume on for the first time in the parking garage at ECCC with the help of my amazingly patient boyfriend. I wore it a bunch, met up with my awesome artist friend Zach Fischer, had a photoshoot with Holly of Elite Cosplay, and had to take it off because I was dying of heat, my arm was getting tired of holding the bow, and my shoulders kept falling off (turns out they were a tad to heavy for velcro, oops).


Later I put the costume on again for prejudging, which went pretty smoothly. Then there was lots of standing around back stage talking to Theena Cosplay (3rd place, Tinkering) and a cool Warhammer cosplayer (sorry, I forget your name!) and subtly admiring my ex-Warchief Thrall ( Ryan Paskadi, 1st place Tinkering, Overall Grand Prize).
I was truly honored to be selected as the 2nd place winner in the Tinkering category, it was my very first award, and it felt amazing to be recognized by such an amazing panel of judges out of a group of hugely talented cosplayers.


Below photos by Elite Cosplay.


Below photos by JGR.


